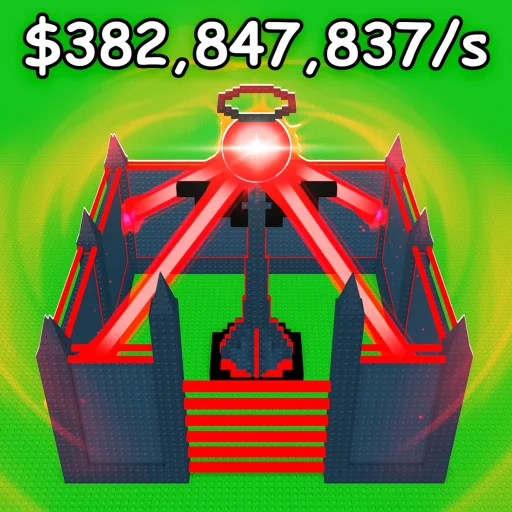
Defenses Tier List
Traps, turrets, and active defenses ranked for vault protection.
Your vault only stays yours if raiders run out of time, health, or patience before extracting loot. This defenses tier list ranks traps, turrets, and active defensive tools in Build to Defend Loot by TwoBrothers Games — the Roblox PvP base builder built around a central vault, conveyor belt upgrades, offline earnings, and constant steal-and-defend pressure from other players.
Defenses do not exist in isolation. A top-tier turret placed on a straight sightline without wall pathing dies to rush loadouts from the loot tier list. Read this page together with the defense traps guide and base building guide to convert rankings into a base that actually holds.
What makes a defense S-tier?
Time delay per cost — Offline income scales with how long your layout stalls attackers. Cheap stall chains sometimes beat expensive single-point DPS.
Coverage synergy — Traps that combo — stun into spike, slow into turret beam — rank above standalone gadgets that raiders bypass with one mobility tool.
Counter meta raid tools — When mobility dashes dominate, slows and zone traps rise. When burst weapons dominate, armor-shred turrets rise. We note patch-sensitive shifts in updates.
Rebuild friendliness — After rebirth, defenses you can afford quickly matter. Some A-tier picks stay A-tier across brackets because of low conveyor cost.
S Tier — Core meta defenses
These define serious vault protection in current community metas:
- Central ring turrets — Cover vault approach arcs when walls force single-file entries; pair with corners from the walls tier list.
- Hard CC traps (stun / root) — Stop rush raiders cold; one second often equals thousands in saved offline bank.
- Layered spike or flame lanes — Punish players who jump shortcuts; require raiders to spend trap counters from high-tier loot.
April 2026 reinforced steel + proximity mines meta-defining entries are detailed on the reinforced steel tier and proximity mines tier pages.
Names and exact stats change — treat these as roles. Confirm after major patches before mass purchasing duplicates on the conveyor.
A Tier — Strong in most layouts
Reliable picks for players past the tutorial wall:
- Mid-cost turrets with decent range and target swap speed
- Slow fields that amplify other traps without needing perfect timing
- Secondary vault room traps catching players who breach outer shell but forget inner ring
If you can only afford three defense purchases this week, pull from A-tier generalists before gambling on S-tier luxury.
B Tier — Good with correct placement
B-tier defenses become A-tier when pathing does the work:
- Single-direction turrets guarding blind corners
- One-shot traps on optional jump paths scouts often miss
- Early rebirth traps adequate until second conveyor band unlocks
Study common raid lines in the raid and loot guide and place B-tier items where real players walk, not where you hope they walk.
C Tier — Niche counters
Keep C-tier gear only for specific threats:
- Anti-air or anti-jump gadgets when local meta favors vertical entry
- Low-range traps on huge maps where raiders never trigger them
- Event defenses after partial nerfs — watch patch notes
D and F Tier — Replace aggressively
D/F defenses waste slots better filled by walls or higher tiers:
- Low DPS turrets raiders out-heal or ignore while stealing
- Traps with obvious telegraphs every mobility tool skips
- Deprecated items superseded by conveyor band upgrades two tiers above
Rip these out before investing in cosmetic wall skins — function first.
Sample vault defense layers
A proven center vault template:
- Outer wall ring — forces first breach point (see walls tier list)
- Trap hallway — B-tier spikes + A-tier slow at choke
- Inner turret arc — S or A turrets covering vault door angles
- Vault room surprise — CC trap catching players who think inner door is clear
Offline farmers should overweight layers 2–3 because you will not be online to react. Active defenders can lean turret-heavy with slightly weaker hall traps.
Economy: conveyor vs. direct buys
Most defenses arrive via conveyor belt rolls or direct shop tiers. Promo codes and offline earnings fund spins; do not chase every S-tier duplicate until core A coverage exists.
Avoid auto-farm scripts — automated defense placement rarely matches human pathing knowledge and risks your account.
Platform considerations
Mobile raiders sometimes take wider paths due to camera limits; PC raiders optimize jump cuts. Test your layout against both — notes on mobile players and PC players help tune trap density without reranking entire tiers.
After you upgrade defenses
- Raid your own layout mentally using top loot tiers
- Patch weak choke points with walls before buying more turrets
- Revisit rankings after updates
- Plan rebirth so you do not delete still-strong A-tier pieces
Related pages
Frequently Asked Questions
Quick answers to the most common questions.
How many defenses should protect the vault center?
Most mid-game bases run an outer trap lane plus inner turret arc — often four to eight active pieces depending on wall rings. Quality and pathing beat raw count.
Are turrets better than traps?
Neither alone wins. Traps delay and soften; turrets punish during delays. S-tier bases combine both along forced paths.
What defenses help offline earnings most?
Time-delay tools — slows, stuns, and layered spikes — because offline bases win by stalling until income caps or the raider leaves.
Should I buy defenses before walls?
Basic walls first to create chokes, then traps and turrets. Walls without defenses get breached fast; defenses without walls get bypassed.
Do defense tiers change after rebirth?
Cost and unlock brackets shift. Many A-tier defenses remain excellent — check the rebirth guide before scrapping your layout.