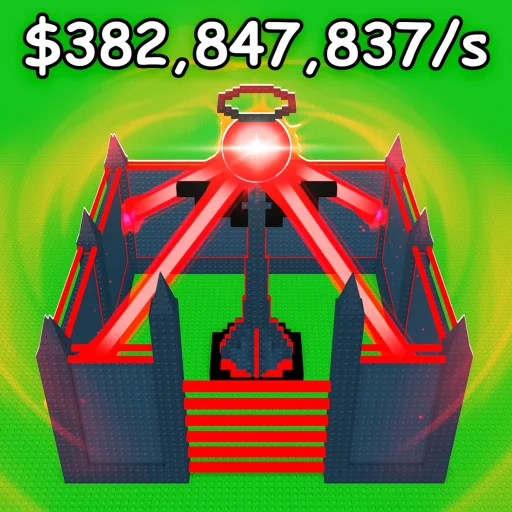
Walls & Gear Tier List
Structure segments, utilities, and conveyor gear ranked for base power.
Walls shape every raid and defense in Build to Defend Loot. Without strong structure segments and supporting gear from the conveyor belt shop, even S-tier traps and turrets from the defenses tier list fail because raiders simply walk the shortest line to your central vault. This page ranks walls, structural gear, and utility conveyor items in the TwoBrothers Games Roblox PvP base builder �?the same loop where you defend loot, steal from others, and bank offline earnings while logged out.
Think of walls as the skeleton and gear as the muscles. The base building guide shows how to arrange them; this tier list tells you which parts deserve your next purchase.
Wall ranking criteria
HP and breach time �?How many hits from common loot tier weapons before a segment breaks? Higher effective HP per coin ranks up.
Pathing potential �?Segments that enable corners, zig-zags, and jump blocks rank above straight vanity panels that look good but shorten raid routes.
Height and verticality �?Some walls enable anti-jump meta when paired with traps; flat low walls get skipped by mobility tools.
Upgrade path �?Walls that bridge early to late conveyor bands without full replacement stay in higher tiers across rebirth.
Gear ranking criteria (conveyor utilities)
Non-weapon conveyor items �?boosters, repair tools, vault modifiers, belt speed upgrades �?are judged on:
- Long-term economy impact (offline earnings)
- Synergy with defense placement (defense traps)
- Opportunity cost versus another wall ring or turret
Return to the tier list hub when comparing whether your next coin should go to walls or direct defenses.
S Tier walls and gear
Meta-defining structures and utilities right now:
- Reinforced steel inner panels �?1,500 HP per segment at 6,000 coins, force two C4 charges per segment. See reinforced steel tier for placement math.
- Proximity mine field �?Hidden burst traps at cheap conveyor cost, stun raiders for 1�? seconds. See proximity mines tier.
- High-tier corner and gate segments �?Enable double-back choke halls raiders hate
- Conveyor belt speed or tier unlock utilities �?Faster access to A/S loot and defense bands pays compound interest
- Glass wall segments — Mid-tier visual panels that still contribute to path length when layered behind steel
- Barricade pieces — Cheap outer-yard filler that forces raiders to spend trap counters before the inner ring
- Repair or regen utilities �?Extend offline stall when you cannot manually patch breaches
Exact item labels rotate with updates �?confirm on patch notes day.
A Tier �?Default choices for serious bases
Most players should standardize on A-tier walls before cosmetic upgrades:
- Mid-band full-height segments with good HP/cost
- Standard gates with predictable interaction for trap alignment
- Utility gear that boosts income or shortens conveyor cooldowns without niche conditions
Fund these with codes cash smartly �?one inner ring of A walls beats three D-tier turrets pointing at an open field.
B Tier �?Functional mid-game
B-tier walls work until second or third rebirth:
- Starter segments from tutorial and early shop
- Situational jump blocks when local raiders use specific shortcuts
- Gear that helps one playstyle (pure defense vs. hybrid raid) but not both
Replace B-tier outer rings first; inner vault ring upgrades last outward for maximum delay.
C Tier �?Transitional or cosmetic-heavy
Hold briefly, then replace:
- Low HP decorative panels
- Utilities superseded once belt speed hits threshold
- Gear requiring constant manual upkeep incompatible with offline focus
D and F Tier �?Structural mistakes
Avoid building long-term bases around:
- Segments raiders break in one burst combo from S-tier loot
- Gear that reduces path length accidentally (open yard invites rush)
- Deprecated event walls after nerfs �?same risk as expired codes bundles
Vault-centered layout patterns
Ring layout �?Concentric walls with single gated entries; each ring adds trap time.
Spiral layout �?Long walk path to vault; strong for offline but annoying to rebuild.
Hub layout �?Vault center with three choke branches; balances rebuild cost and delay.
All patterns need tier-appropriate walls �?an S spiral built from D segments collapses instantly.
Shopping priority on the conveyor belt
- Complete one A-tier outer ring
- Add gear that accelerates next conveyor tier OR boosts offline cap
- Upgrade inner vault ring to S/A before outer cosmetics
- Sync with rebirth guide so you do not overbuild pre-reset
Never substitute scripts for understanding layout �?external tools cannot design choke logic for your map slot.
Walls vs. defenses: budget split
A practical mid-game split:
- 40% walls �?pathing and HP
- 40% defenses �?traps and turrets on those paths
- 20% gear/utilities �?belt and income multipliers
Adjust toward walls if raiders breach before traps fire; toward defenses if they reach vault with full HP.
Platform notes
PC players exploit tighter jump lines; mobile players may take wider turns. Test your wall angles on both �?see PC players and mobile players. Rankings stay the same; placement tweaks differ.
Related pages
Frequently Asked Questions
Quick answers to the most common questions.
What walls are best for a central vault layout?
Prioritize high-HP inner ring segments and corner pieces that create single-file gates. Reinforced panels adjacent to the vault door rank highest in community metas.
Should I upgrade walls or buy conveyor gear first?
If raiders reach your vault too fast, walls first. If your base holds but progression is slow, gear that boosts belt speed or offline income comes first.
Do walls affect offline earnings?
Indirectly �?stronger pathing delays raiders, giving offline income more time to accumulate and reducing stolen vault loot.
How does conveyor belt gear tier interact with walls?
Belt upgrades unlock higher wall bands. Speed utilities get you to those bands faster �?see gear tiers above for priority order.
Can codes help buy walls?
Yes �?cash codes from the codes hub fund segments and gear. Redeem via Settings > Codes and spend on A-tier structure before cosmetics.